How to Use Logistics Tracking
The Logistics Tracking module allows you to track vehicles during deliveries and trips, monitor statuses, and analyze routes.
1. Add Vehicle
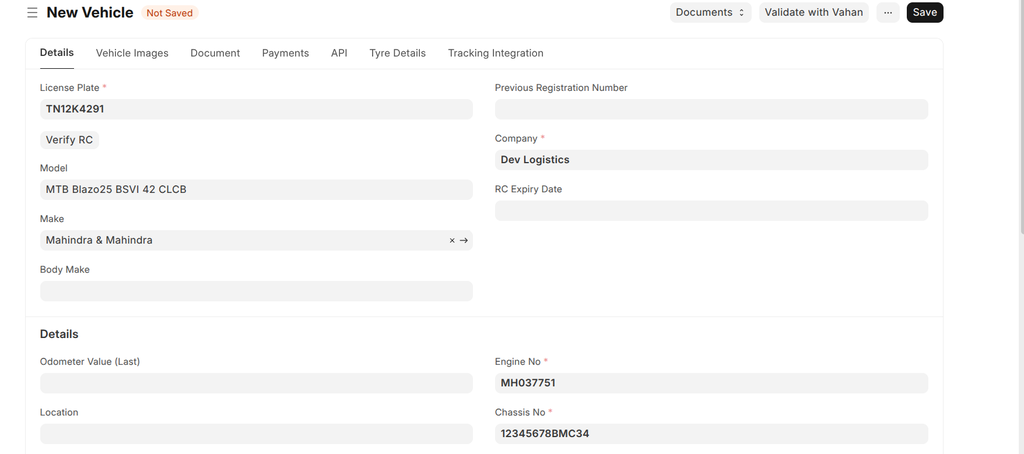
Start by selecting the Vehicle from the available in vehicle doctype. This links the trip to the specific vehicle you want to track.
2. Set Pickup Details
For pickup information:
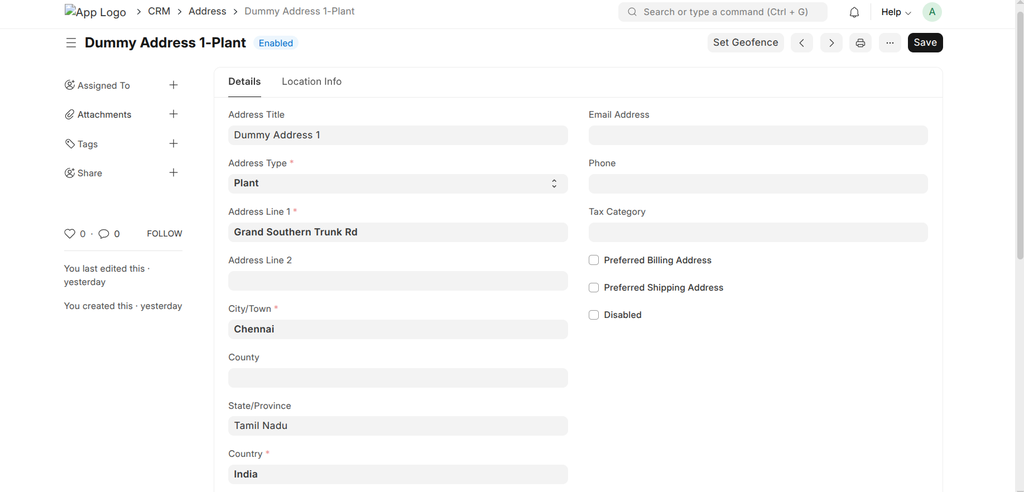
- Use the From Location field to link the pickup Address. If the address does not exist, create a new address record.
- Ensure the pickup address has a geofence configured by clicking the Set Geofence button on the Address form.
- Once geofence is set, the latitude and longitude values for pickup will be automatically populated in the Pickup Latitude and Pickup Longitude fields.
- Fill in the Pickup Address Line and Pickup City to have complete location details.
3. Set Delivery Details
For delivery information:
- Use the To Location field to link the delivery Address. Like pickup, create a new address if needed.
- Set the delivery geofence in the Address form via the Set Geofence option.
- After geofence is configured, Delivery Latitude and Delivery Longitude will be auto-filled.
- Fill in the Delivery Address Line and Delivery City.
4. Assign Customer

Fill the Customer field by selecting an existing customer or creating a new customer record. The Customer Name will autofill from the selected customer.
5. Set Status and Time Details
Choose the current status of the trip from the Status dropdown. Typical statuses include:
- Planned: Trip is scheduled but not started.
- In Transit: Vehicle is moving towards the delivery.
- At Delivery: Vehicle is within the delivery geofence.
- Delivered: Delivery completed.
- Parking: Vehicle is parked.
- Cancelled: Trip cancelled.
Fill the expected and actual start/end time fields appropriately for accurate tracking.
6. Use Tracking URL
Upon creating the record, a Tracking URL will be generated. This URL can be shared with customers or internal users to view live vehicle tracking.
7. Monitor Tracking Logs
The Logistics Tracking Log table within the record displays detailed status updates including location coordinates, timestamps, and vehicle movement history.
Additional Notes
- The Expiry Time determines when the tracking URL becomes inactive.
- Make sure geofences are configured correctly for accurate status changes during pickups and deliveries.
- Use the Company field to link this tracking to your organization or client.
- The Route Path and Mapbox Response fields store JSON data for route visualization (handled by the system).