Vehicle Insurance and Insurance Provider Setup
To manage vehicle insurance policies within ERPNext FMS, you must first define the companies that provide the insurance. This is done using the Insurance Provider master. Once the providers are set up, you can create and track individual insurance policies for your vehicles using the Vehicle Insurance document.
1. Prerequisite: Insurance Provider
The Insurance Provider document is a simple master list to store the names of the insurance companies you work with.
How to Create an Insurance Provider:
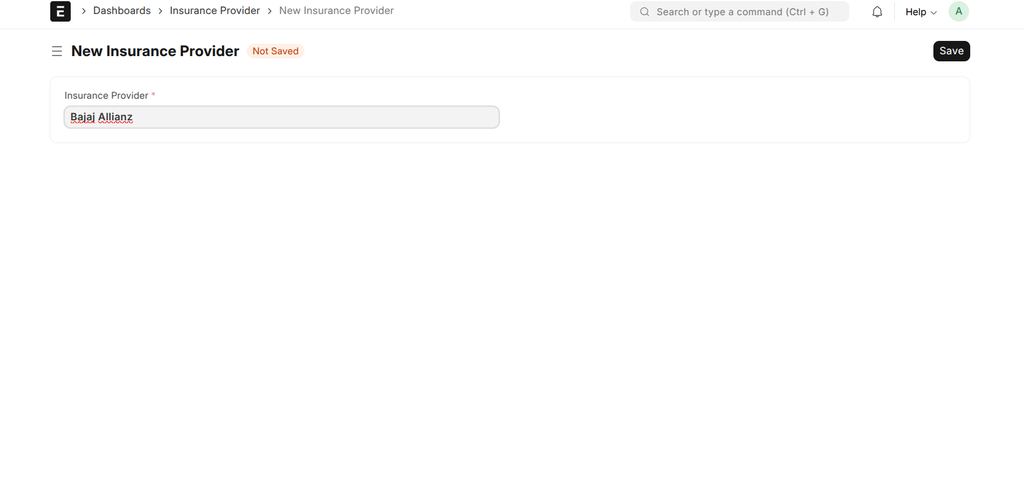
- Navigate to: Dashboards > Insurance Provider.
- Click + Add Insurance Provider.
- In the Insurance Provider field, enter the name of the insurance company (e.g., "New India Assurance", "HDFC ERGO").
- Click Save.
| Field | Description | Required |
|---|---|---|
| Insurance Provider | The unique name of the insurance company. | Yes |
2. Main Document: Vehicle Insurance
The Vehicle Insurance document is used to track individual insurance policies for each vehicle in your fleet. It includes features for validating policy details against the official Vahan service to ensure compliance and data accuracy.
How to Create a Vehicle Insurance Record:
- Ensure you have the relevant Vehicle and Insurance Provider records already created.
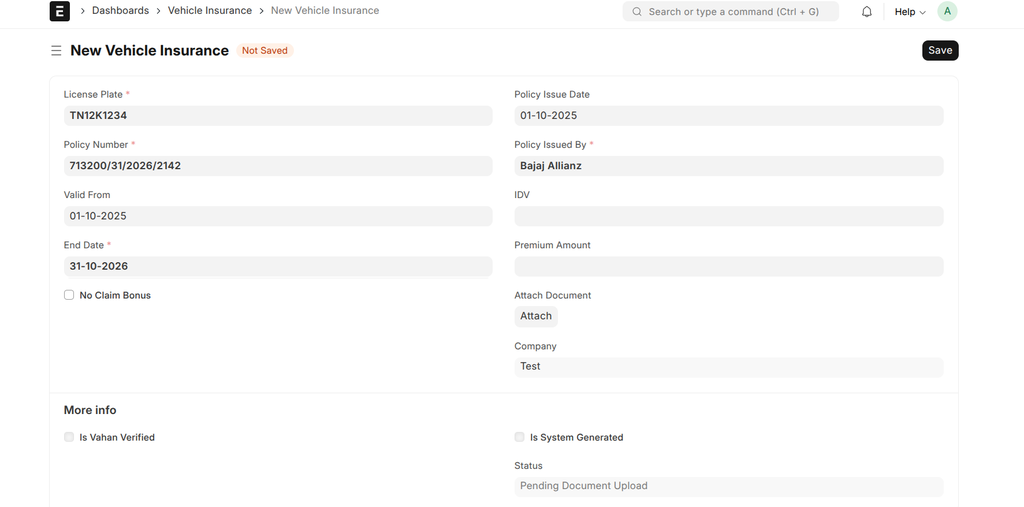
- Navigate to: Dashboards > Vehicle Insurance.
- Click + Add Vehicle Insurance.
- Fill in the policy details as described in the table below.
- Upload a scanned copy of the policy using the Attach Document field.
- Once the document is attached and saved, a Verify With Vahan button will appear. Click it to automatically cross-check the policy details.
- Click Save to create the record.
Fields Description:
| Field | Description | Required |
|---|---|---|
| License Plate | Link to the Vehicle that this insurance policy covers. | Yes |
| Policy Number | The unique number assigned to the insurance policy. This is the primary identifier for the record. | Yes |
| Policy Issued By | Link to the Insurance Provider who issued the policy. | Yes |
| Valid From | The start date of the insurance policy's coverage. | No |
| End Date | The expiry date of the insurance policy. Must be after the "Valid From" date. | Yes |
| No Claim Bonus | Check this box if a No Claim Bonus (NCB) was applied to this policy. | No |
| Policy Issue Date | The date the policy was officially issued by the provider. | No |
| IDV | The Insured Declared Value of the vehicle for this policy period. | No |
| Premium Amount | The total premium amount paid for the policy. | No |
| Attach Document | Field to upload a scanned PDF or image of the insurance policy document. | No |
| Status | A read-only status indicating the current state of the policy (e.g., Verified, Expired). See workflow below. | No |
| Is Vahan Verified | A read-only checkbox indicating if the policy details have been successfully verified with the Vahan service. | No |
| Verified Datetime | A read-only timestamp showing when the last successful Vahan verification occurred. | No |
Verification and Status Workflow
The system uses an automated workflow to manage the status of each insurance policy, providing clear indicators in the list view:
- Pending Document Upload: The record has been created, but the policy document has not been attached.
- Not Verified: The document has been attached, but its details do not match the data on the Vahan portal, or the verification has failed.
- Verified: The policy details have been successfully cross-checked and validated with the Vahan service.
- Expired: The policy's "End Date" is in the past.
- Disabled: The policy has been superseded by a newer policy for the same vehicle. This is handled automatically to ensure only the active policy is considered.
The Verify With Vahan button triggers this verification process on demand, helping you maintain an accurate and compliant fleet insurance database.