Schedule Addition
Introduction
The Schedule Addition module is a key part of the ERPNext Vehicle Trip Tracking system. It allows users to create detailed daily schedules based on predefined trip schedules and routes, including timing slots and operational responsibilities.
Before creating a Schedule Addition, ensure that you have created the following:
- Trip Schedule - Contains trip-level settings and route association
- Route Addition - Defines the routes between cities
Purpose
Schedule Addition creates operational daily schedules to assign vehicles, routes, and crews. It handles detailed timing, location stops, operational in-charge assignments, and related expenses.
Key Features
- Link to Trip Schedule and Route
- Select trip timing slot and vehicle seating type
- Assign Operational In-charge (assign employee or create new)
- Supports uploading schedules via CSV file
- Interactive map to visualize routes
- Automated document naming and validation
- Workflow support for approval and review
How to Create a Schedule Addition
1. Select Schedule ID
Choose the trip schedule for which you want to create a daily schedule. This will link all route and operational details predefined in the schedule.
2. Confirm Select Route
The route connected to the chosen Schedule ID will auto-fill. Confirm the route or select another if necessary.
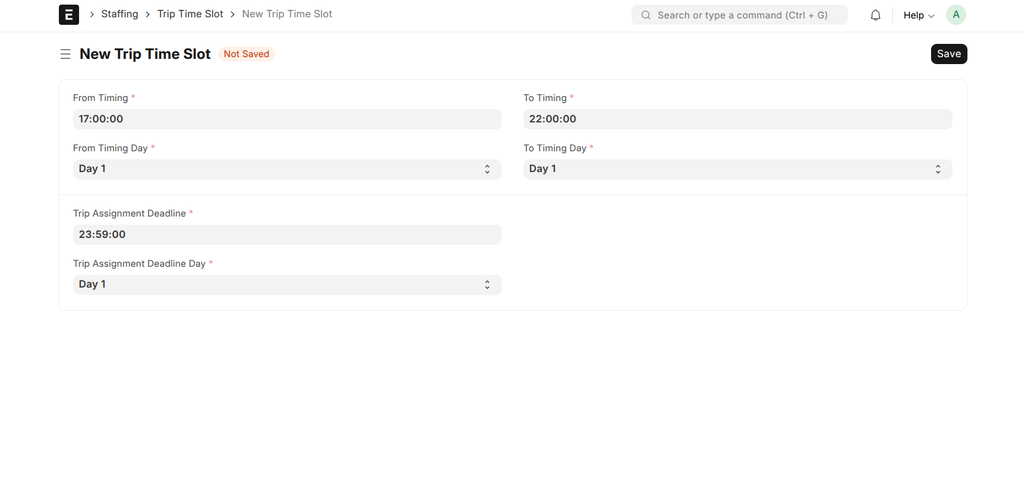
3. Choose Trip Timing Slot
Select the appropriate timing slot that matches your trip's start time. The system automatically assigns the Trip Time Slot based on the selected timing.
4. Specify Vehicle Seating Type
Enter the vehicle seating type to match the schedule with actual bus or van configurations.
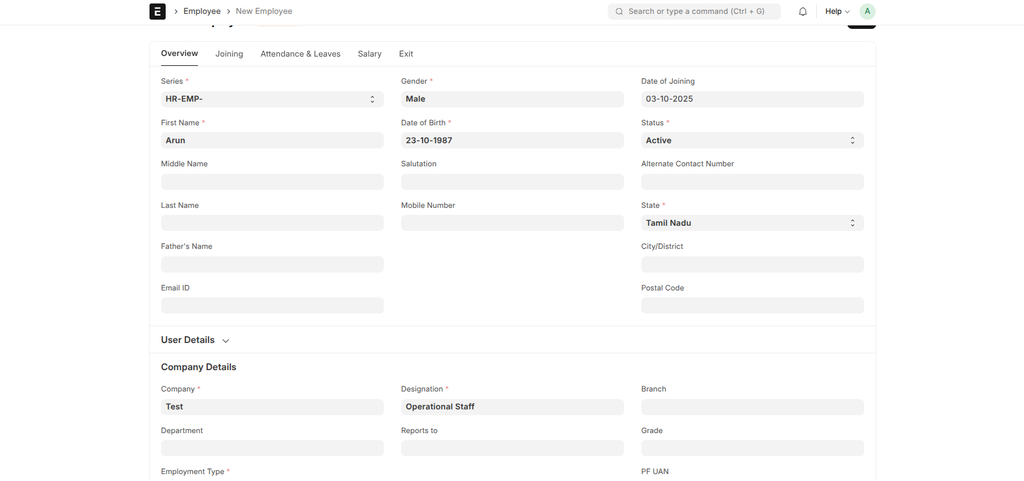
5. Assign Operational In-charge
Select an existing employee or create a new employee profile to act as the operational in-charge responsible for daily management of this schedule.
6. Upload Schedule (Optional)
You can upload a CSV schedule file to bulk import location stops and timings. Ensure it matches the prescribed format for successful import.
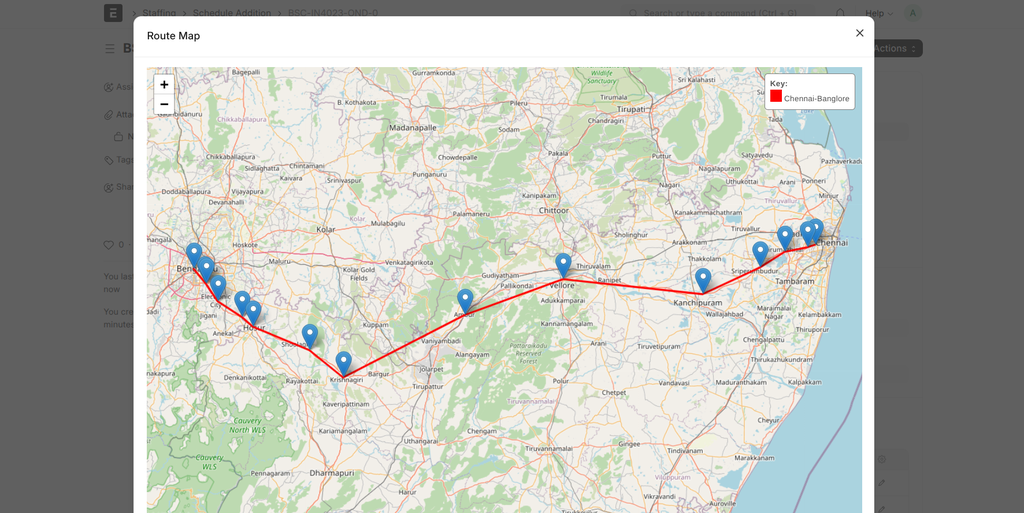
7. View Map
Click the "Show Map" button to open an interactive map showing the trip route and stop locations for visual verification.
8. Save and Submit
After completing the required fields and verifying all details, save your schedule addition. Submit it to activate the schedule within the system.

9. Workflow
Schedule Additions follow a review and approval workflow. New schedules enter "Pending Approval" state. Users with System Manager role can approve or request changes, moving the schedule to "Approved" or "Review Requested" states.
Important Fields
| Field | Description | Required |
|---|---|---|
| Schedule ID | Reference to an existing Trip Schedule | Yes |
| Select Route | Auto-filled from Schedule ID; defines route cities | Yes |
| Select Timings | Starting time for the trip | Yes |
| Trip Timing Slot | Automatically assigned based on timing | No |
| Operational In-charge | Employee responsible for trip operations | No |
| Schedule Locations | Stops and waypoints of the trip | No |
| Trip Batta Amount | Optional trip expense allowance | No |
Tips and Best Practices
- Ensure prerequisite Trip Schedule and Trip Time Slot records exist.
- Validate uploaded CSV files to prevent import errors.
- Use the interactive map to confirm route and location accuracy.
- Assign a dedicated Operational In-charge for smooth schedule execution.